
Your Guide To Removing Wall Tiles
We understand that renovations can be expensive, which is why it may make sense to do at least some of the work yourself.
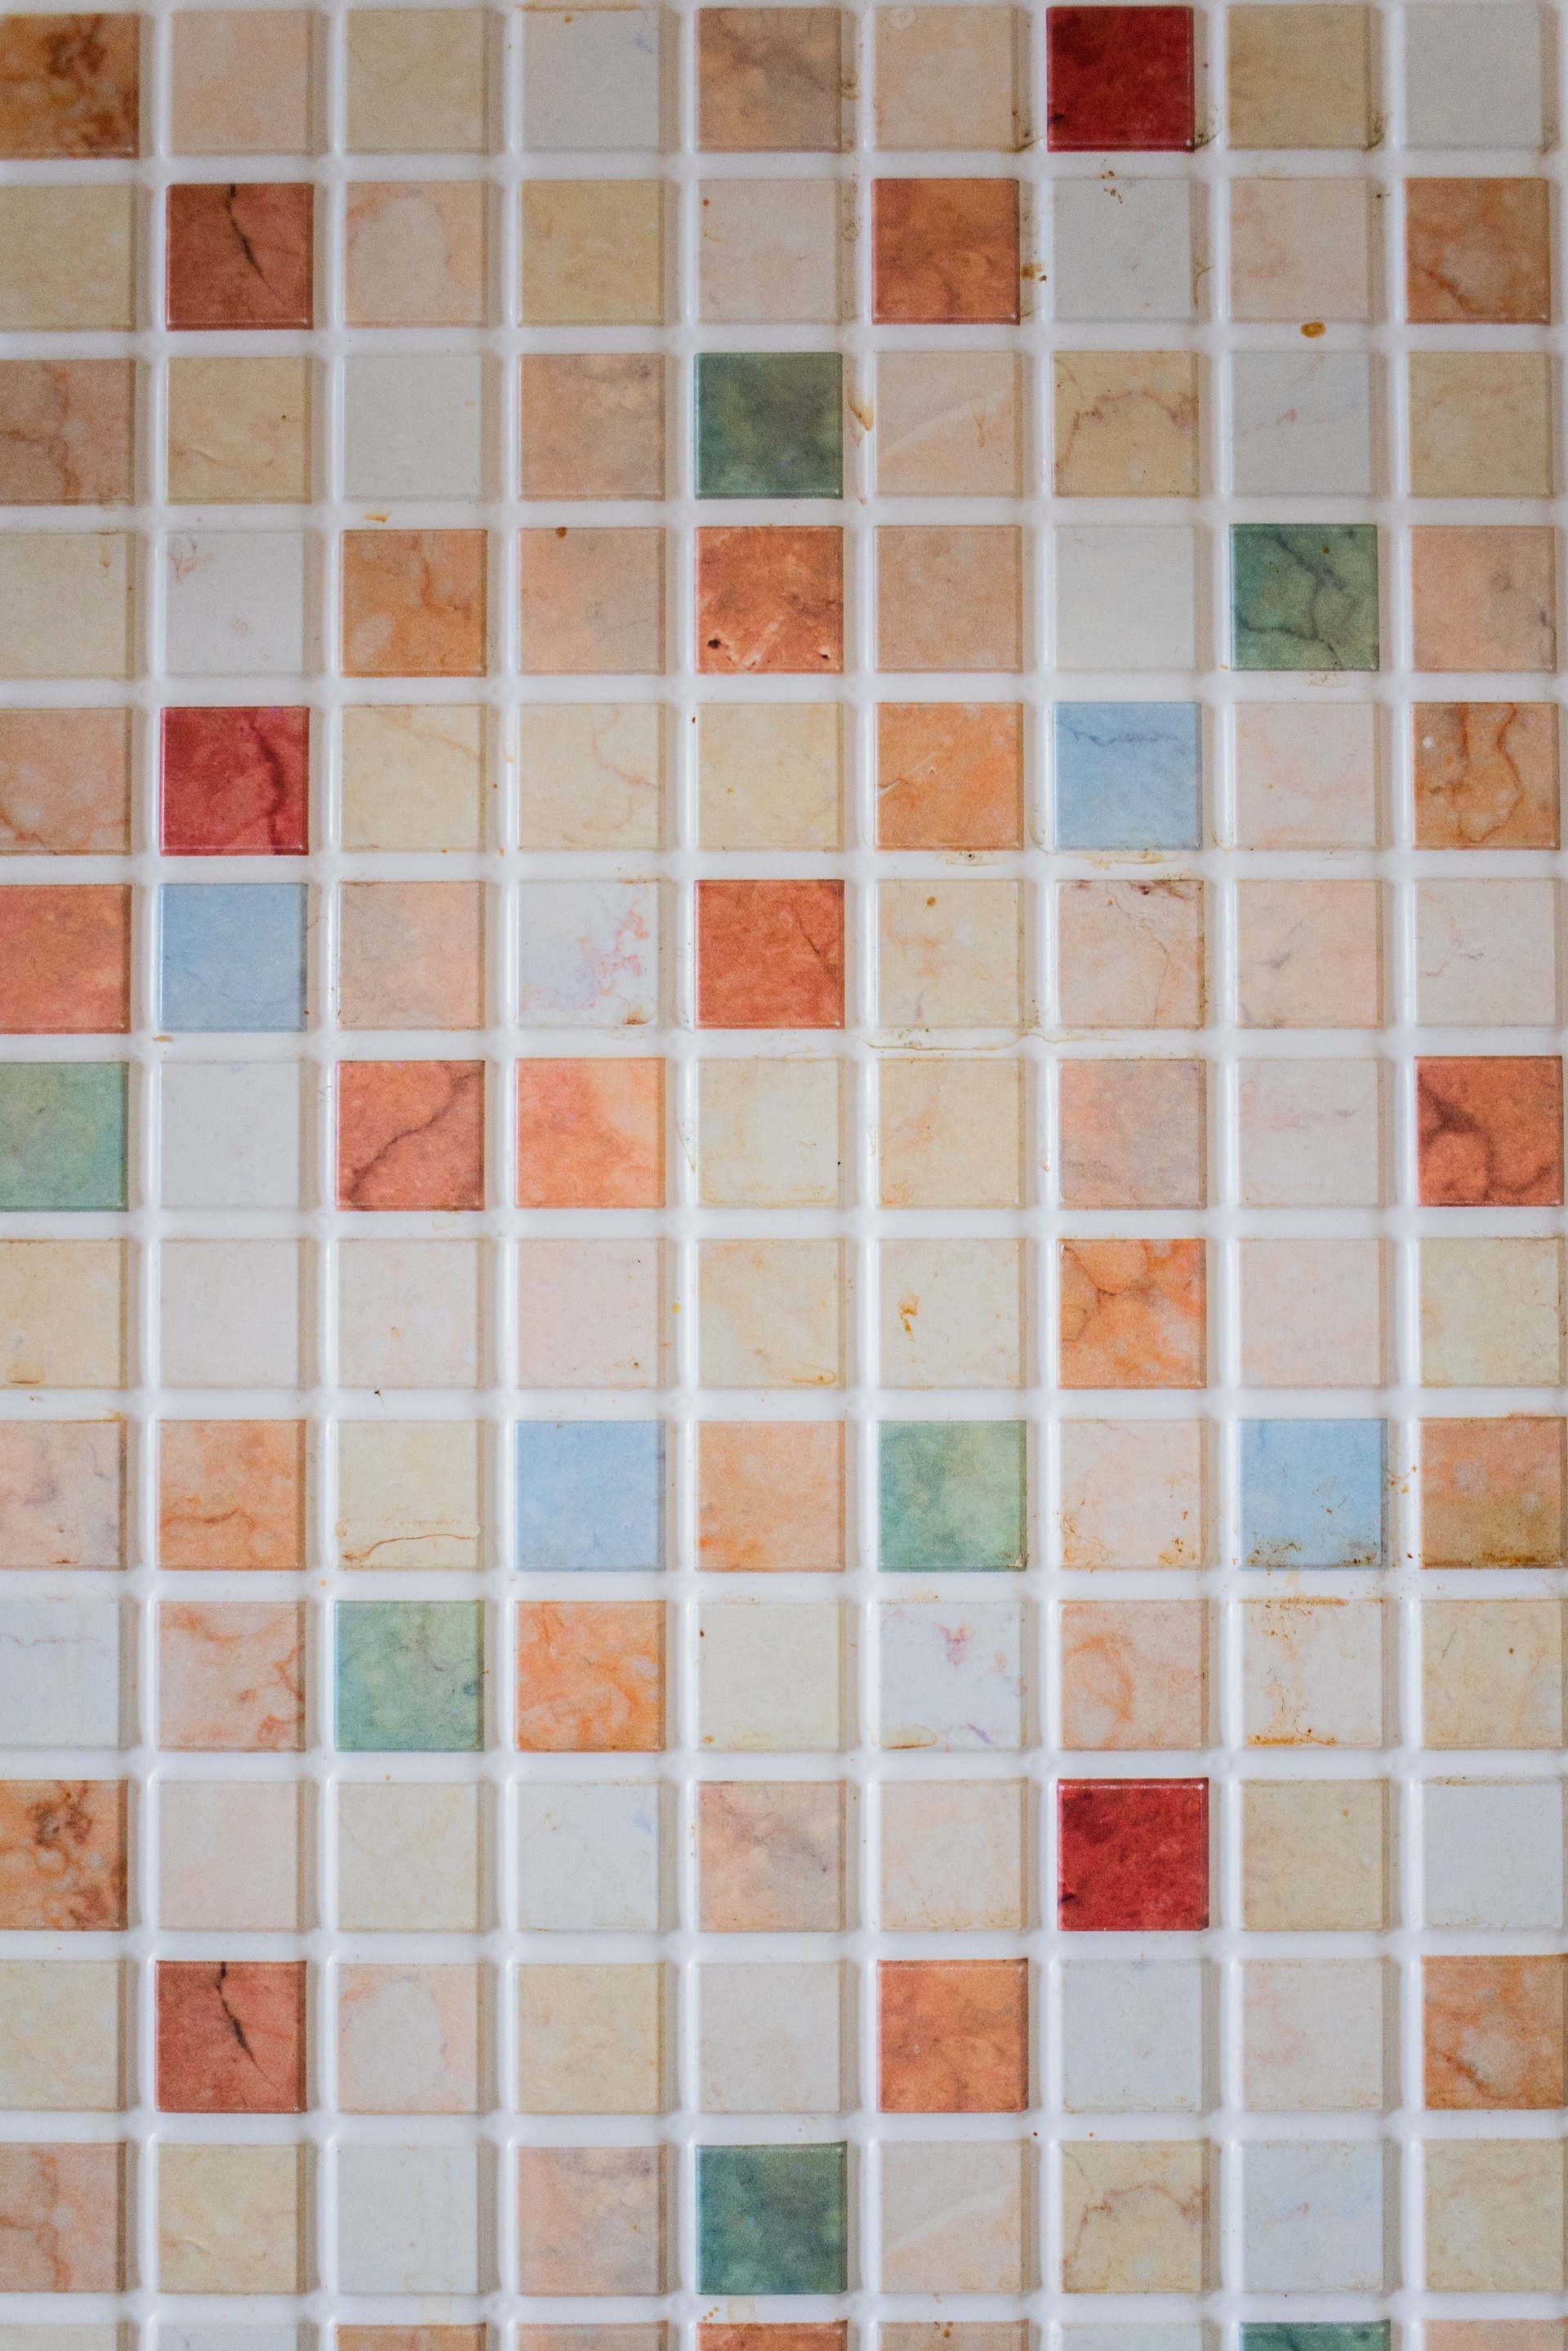
The “demo” part of a tile installation for a kitchen backsplash, shower, or washroom doesn’t require a skilled hand, so if you’re on a budget, it may makes more sense to invest in laying the new tile and doing the demo yourself.
Here’s a few simple steps to follow.
What you’ll need
For removing the tile:
- Eye protection
- Hammer
- Chisel
- Heat Gun (optional)
- Pliers
- Something sturdy to dispose the tile, like a bucket
- Tarps or old blankets
For wall repairs and cleaning the surface:
- A sander, sandpaper, or grinder for a hard surface
- A drywall saw
- Plaster and drywall pieces
- Wood bracket (small section of a two by three)
- Drill and screws
- Measuring tape
- Mesh tape
- An applicator
Getting Started
Begin by protecting the surrounding area. If you’re chipping away at heavy tiles, it’s best to use padded blankets to avoid damaging the floors or, if you’re in the kitchen, the countertops.
Once you’ve got your eyewear on, use the chisel to start at an exposed edge and work your way into the body of the laid tile. Depending on the amount of adhesive or grout, or if there are no exposed edges, it may be necessary to use a grinder to remove some of the grout or a heat gun to soften it.
Removing the Tile
Some smaller tiles are laid on screens and, if you get lucky, you may be able to pull away the screen and all the tiles with it.
Note, it’s very difficult to avoid breaking the tile as you remove it, so if you’re hoping to repurpose the tile for another project, set aside much more time to remove it methodically and know that you will lose many damaged pieces despite your best efforts.
If there are any spacers remaining under the grout from the installation, use a pair of needle-nose pliers to remove them.
Cleaning the Surface
Before you lay new tile, you need a clean and level surface. If the underlaying substrate is concrete, you can use a grinder to remove as much remaining adhesive as possible. If it’s plaster or drywall, you’ll not only need to sand it to remove remaining adhesive but you may also need to repair any holes or damages to the drywall.
Once your walls are repaired and level, it’s time to lay the new tile.
If you need help choosing tile or expert help laying it, contact us at Trini Tile. Whatever your project, we have a wide selection of options.